Riding a Onewheel for the first time can feel intimidating yet exhilarating. This guide covers essential safety tips, finding your stance, mounting and dismounting, basic controls, turning, and tackling common challenges like pushback and foot fatigue. Following these steps ensures a safer, more enjoyable Onewheel experience—whether you’re riding yourself or teaching others.
Our content may contain affiliate links. If you purchase a product using our link, we may earn a commission. This does not affect the price you pay, and we do our best to provide accurate information, regardless of affiliate status.
Written Content
Riding a Onewheel for the first time can be tricky, exciting, and scary all at the same time. I remember the first time I stepped on a Onewheel. The experience was unlike anything I had ever known up until that point.
Since the Onewheel is so unique and very few people are familiar with it, understanding how a Onewheel works and the basic operating techniques is vital to a safe and successful ride. In this article I will teach you how to ride a Onewheel safely in less than ten minutes. If you already know how to ride a Onewheel than you can use these steps to teach others how to ride safely in less than ten minutes.
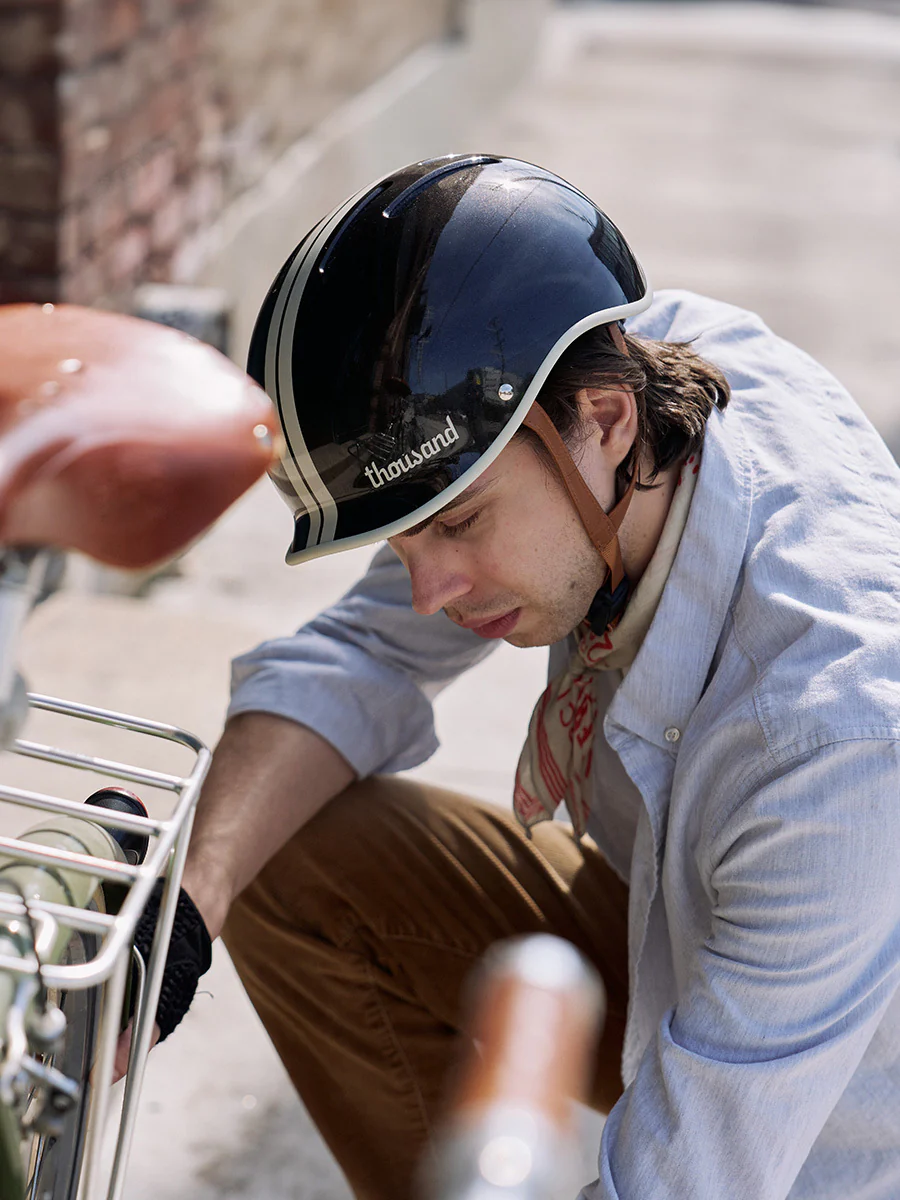
1. Safety Gear
Don’t be hasty, practice safety! The minimum safety gear that I recommend is a helmet and wrist guards. That is what I wear. Elbow pad and knee pads are also recommended, especially for new riders.
I absolutely love my wrist guards which not only look good, but have saved my wrists from getting torn up and potentially broken during a few falls. To learn about my favorite safety gear,
read this article.
2. Which Foot Forward?
In board sports the terms regular and goofy define which foot goes forward with the dominant foot in the rear. For regular riders like me who are right footed, the foot that goes forward is the left foot and the dominant right foot is in back.
Goofy riders they put their right foot forward and their dominant left foot in the rear. To find out whether you are regular or goofy you can use many techniques. I like these:
If you were to run and slide on ice or on a freshly waxed wood floor, which foot would you lead with?
If you were to run up some stairs, which leg would go first?
If you were to run up and kick a ball, which leg would you kick with?
Go behind the person you are teaching and push them forward to see which leg they lead with.
All these scenarios help to find which leg is dominant and which leg should be on the back of the Onewheel.
3. How To Get On?
For your first time have a friend standing nearby so you can hold on to their shoulders as you get on. Put your dominant foot on the back foot pad which is the side of the board that is resting on the ground. Then put your other foot on the front foot pad.
Now imagine you are standing on a balance board and try to bring the board to a level position. Be prepared for a little subtle click or jolt as the board turns on and tries to keep you level.
4. How To Get Off?
The technique that everyone needs to know for getting off the Onewheel is the jump technique. Practice jumping off the Onewheel with both legs. Resist the urge to step off. This dismount technique is useful in all situations, including when you need to emergently bail.
The other technique which takes a little more practice is to slow down to under one mile an hour and then to lift your heel on the front foot pad to deactivate the sensor. This will feel awkward and unbalanced at first but after a few times the muscle memory will kick in and it will be second nature.
5. Learn to Float In Place
The common mistake after learning how to get on a Onewheel is to see how fast you can go. Resist this urge!
Practice mounting and dismounting the Onewheel several times until comfortable. I recommend getting on the Onewheel, then practice floating in place and then dismounting. Be comfortable with this before proceeding to the next step!
6. Learn to Accelerate, Stop, and Reverse
The movements to control the Onewheel should be subtle at first. Sudden movements and flailing will get you into trouble.
Shift your weight onto your front foot to go forward.
Shift your weight to your rear foot to stop.
Continue shifting your weight on your rear foot to reverse.
It is pretty simple and intuitive! Practice going forward, stopping, reversing, then finally stopping and dismounting before going to the next step.
7. Introduction to Turning and Carving
Mount the Onewheel and float or hover in place. While staying in one place practice shifting your weight to your toes then back to level and finally to your heels. This is the basic concept used for turning and carving. Your board will turn in whichever direction you shift your weight.
Practice this while floating in place. Then practice it while moving forward.
8. Practice and Be Prepared!
Pushback, wobble, and foot fatigue are real! By understanding how the board works you can avoid nosedives and major injury.
Pushback is when the nose of the board tips upward to tell you to slow down because the motor is being over stressed and needs a break. Ignore pushback and the consequences of the dreaded nosedive can be devastating.
There are many factors that play into this including battery overcharge or low battery, speed, incline, rider weight, wind, and temperature. Know the 5 rules of the Onewheel to understand how to avoid nosedives. Read this
article on the 5 rules!
Because your muscles are unfamiliar with the Onewheel, you will experience what I call the Onewheel wobbles and foot fatigue. Don’t ignore these signs. Take frequent breaks until your body has conditioned itself and you have developed the muscle memory to overcome these problems.
Carving can help. Shifting the weight during carving uses more muscle groups which gives other muscle groups in your feet and lower extremities a chance to rest. Watch this video for more on carving.The type of shoe you wear can also help. Flat bottom skater shoes give you a better connection with the board and the front foot pad sensors. Watch this video for more.
Final Thoughts
The Onewheel can be totally rad but nothing wipes away the stoke quicker than getting injured. Take the time to understand the basics and avoid the urge to try to break top speed records.
If you share how to ride the Onewheel correctly following these steps, you’ll be able to safely share the Onewheel stoke!
No comments yet…